 Kimai Docs
Connecting via API
How to connect your Kimai account with applications, requesting your API token and how to use it.
How to create an API token
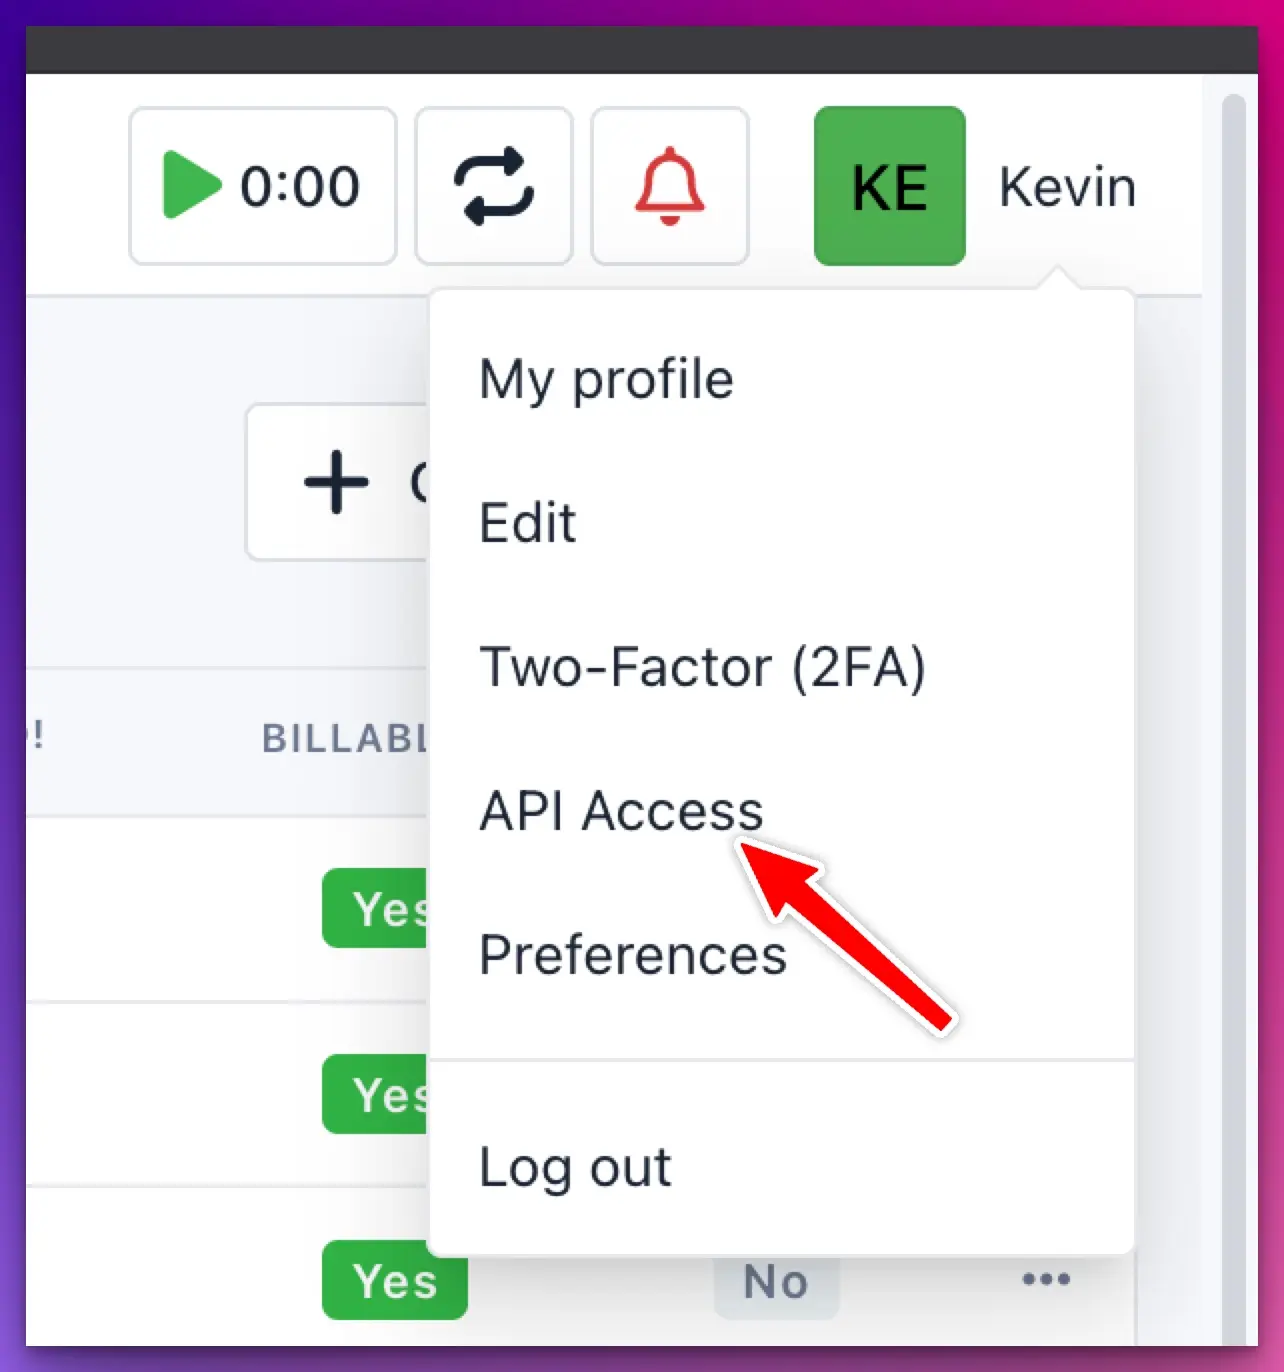
First open your API credentials page:
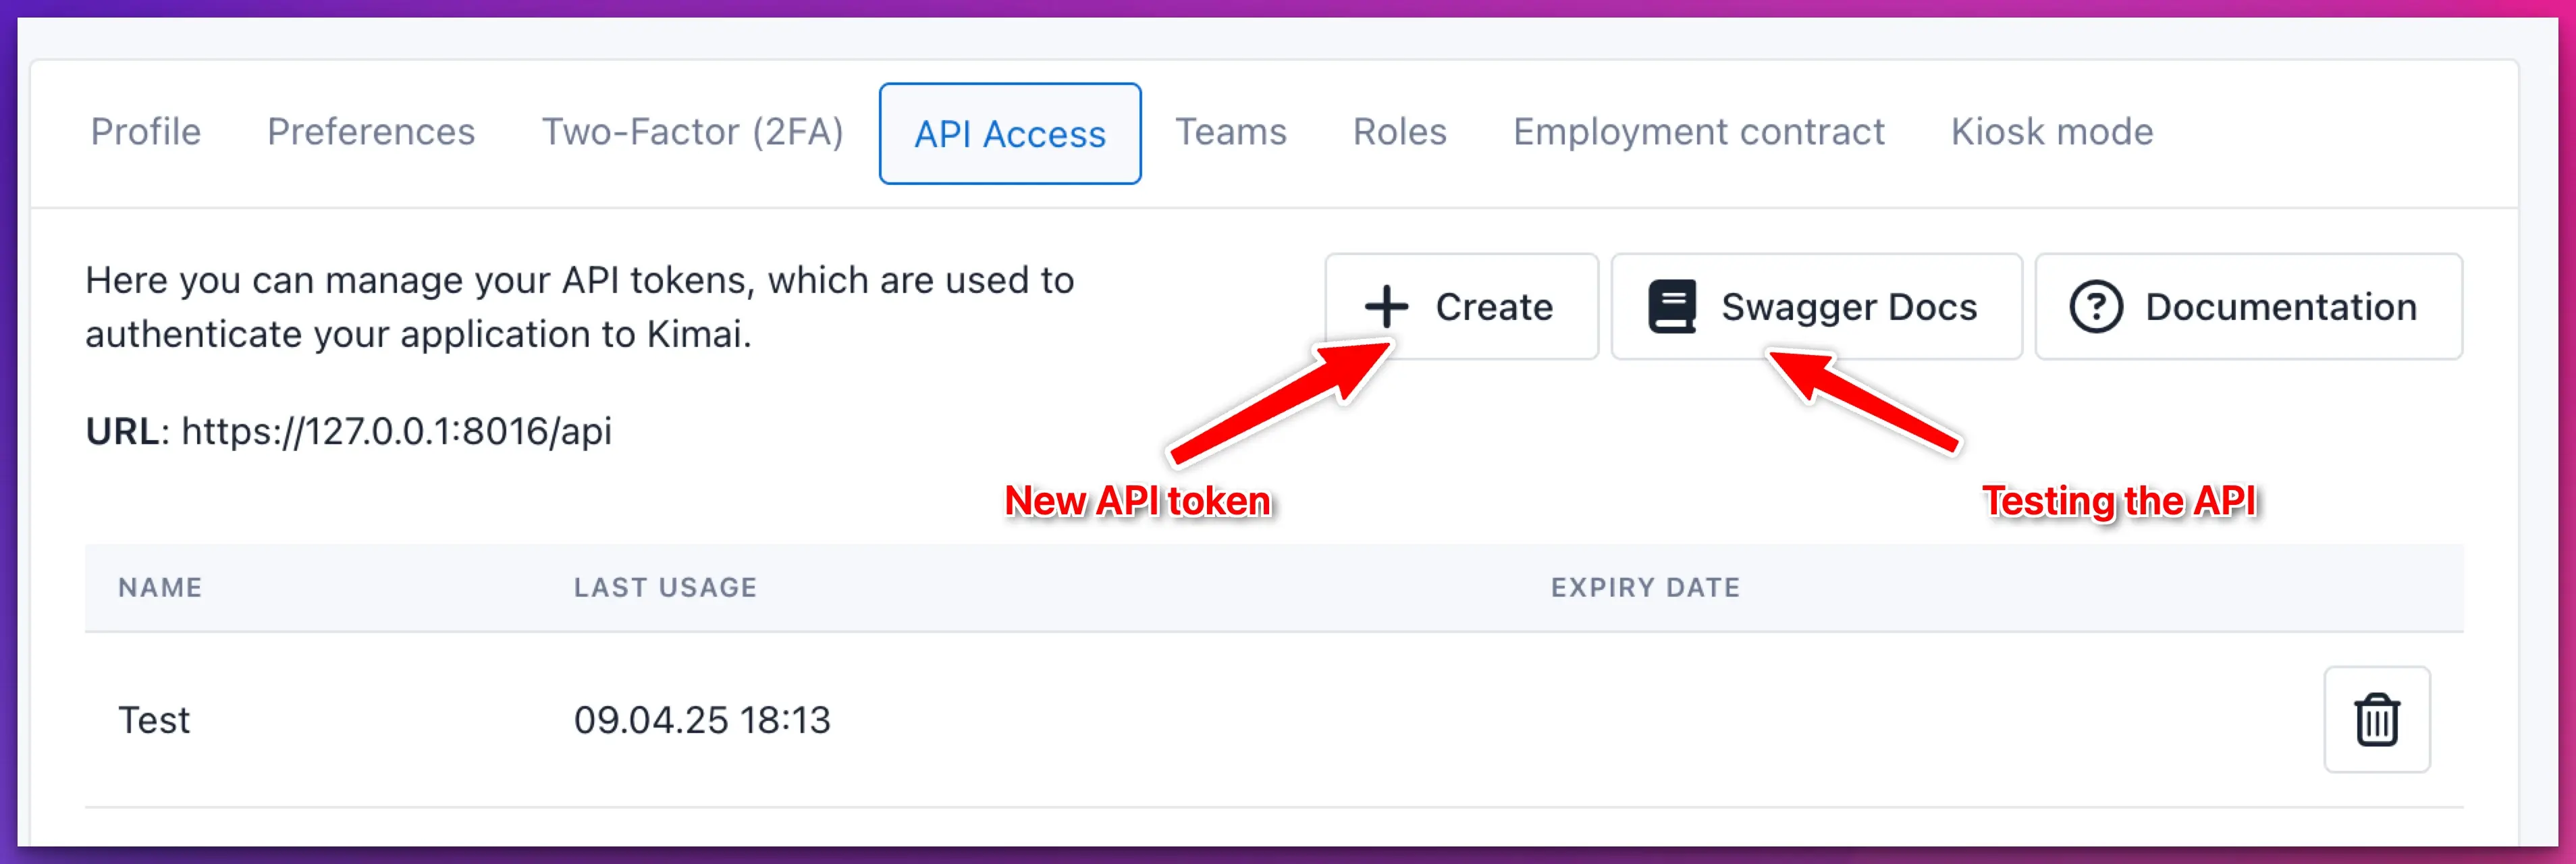
Then you select Create to create one API token:
Connect an app with the QR code
Right after the token was created, Kimai displays it together with a QR code. Scanning that QR code configures the API base URL and the API token in one step, so you don’t have to type them into your phone.
The QR code only works with apps that were built for Kimai. It is not a login code and not a two-factor code: a generic QR scanner app, a camera app or a password manager will only show you a bit of text and cannot connect anything. If your app does not offer to scan a Kimai QR code, simply enter the base URL and the token by hand.
Be aware: the QR code contains your API token. Treat that image like a password. Don’t share a screenshot of it, don’t print it and don’t attach it to a chat message or a bug report. Everyone who sees it has full API access to your account.
Just like the token itself, the QR code is shown only once. If you missed it, delete the token and create a new one.
Bearer token
When calling the API you have to submit the additional Authorization header with every call:
Authorization: Bearer xyz- herexyzis the unique API token for that account
API Base URL
All applications will also ask for your Kimai base URL.
While your API is available under /api or as complete URL https://demo.kimai.org/api,
the base URL is what you use to access Kimai in your browser: https://demo.kimai.org.
Do not include the trailing slash:
- Wrong:
https://demo.kimai.org/ - Correct:
https://demo.kimai.org