Install Kimai on a Synology NAS
How to install Kimai on a Synology NAS
You are viewing an older version of this documentation page. A newer version is available here.
This HowTo does not explain every step for the installation of Kimai on a Synology NAS with DSM 6, but rather concentrates on the differences from the default installation.
ATTENTION: This manual seems to be outdated and not working with DSM 7+ anymore. Please use Docker to host Kimai on Synology!
Important to know
You need to prefix all PHP related commands with php81, for example:
php81 composer.phar install --no-dev --optimize-autoloader
Or run a console command:
php81 bin/console kimai:version
The webserver user is called http and not www-data.
The database connection uses a socket instead of a port.
After creating the VirtualHost the DSM changes file ownership, so you might be forced to use sudo or switch to the root account for multiple commands.
Installation process
Clone Kimai as described in the main installation docs. If no git is installed, you can use the method described under the “updates” section.
This example uses the path /volume1/web/kimai2
Then download and install composer. Now install all dependencies:
php81 composer.phar install --no-dev --optimize-autoloader
Create a database
Use phpMyAdmin or the console (if you are familiar with it) to create a new database and database user.
Do not add special characters to the password that needs to be url encoded, rather use a longer password.
Synology seems to have strict password rules, use the minus - if you are forced to use a special character,
otherwise stick with lower and uppercase character and numbers.
.env file and database connection
Synology ships a MariaDB which is configured to use a socket connection and runs on a different port,
therefore the connection string in your .env file could look different from the one used in the
default installation docs:
DATABASE_URL="mysql://kimai2:password@localhost:3307/kimai2?unix_socket=/run/mysqld/mysqld10.sock"
BTW: You find the MariaDB executable at /volume1/@appstore/MariaDB10/usr/local/mariadb10/bin.
After editing the .env file, install Kimai:
php81 bin/console kimai:install -n
Webserver (nginx) configuration
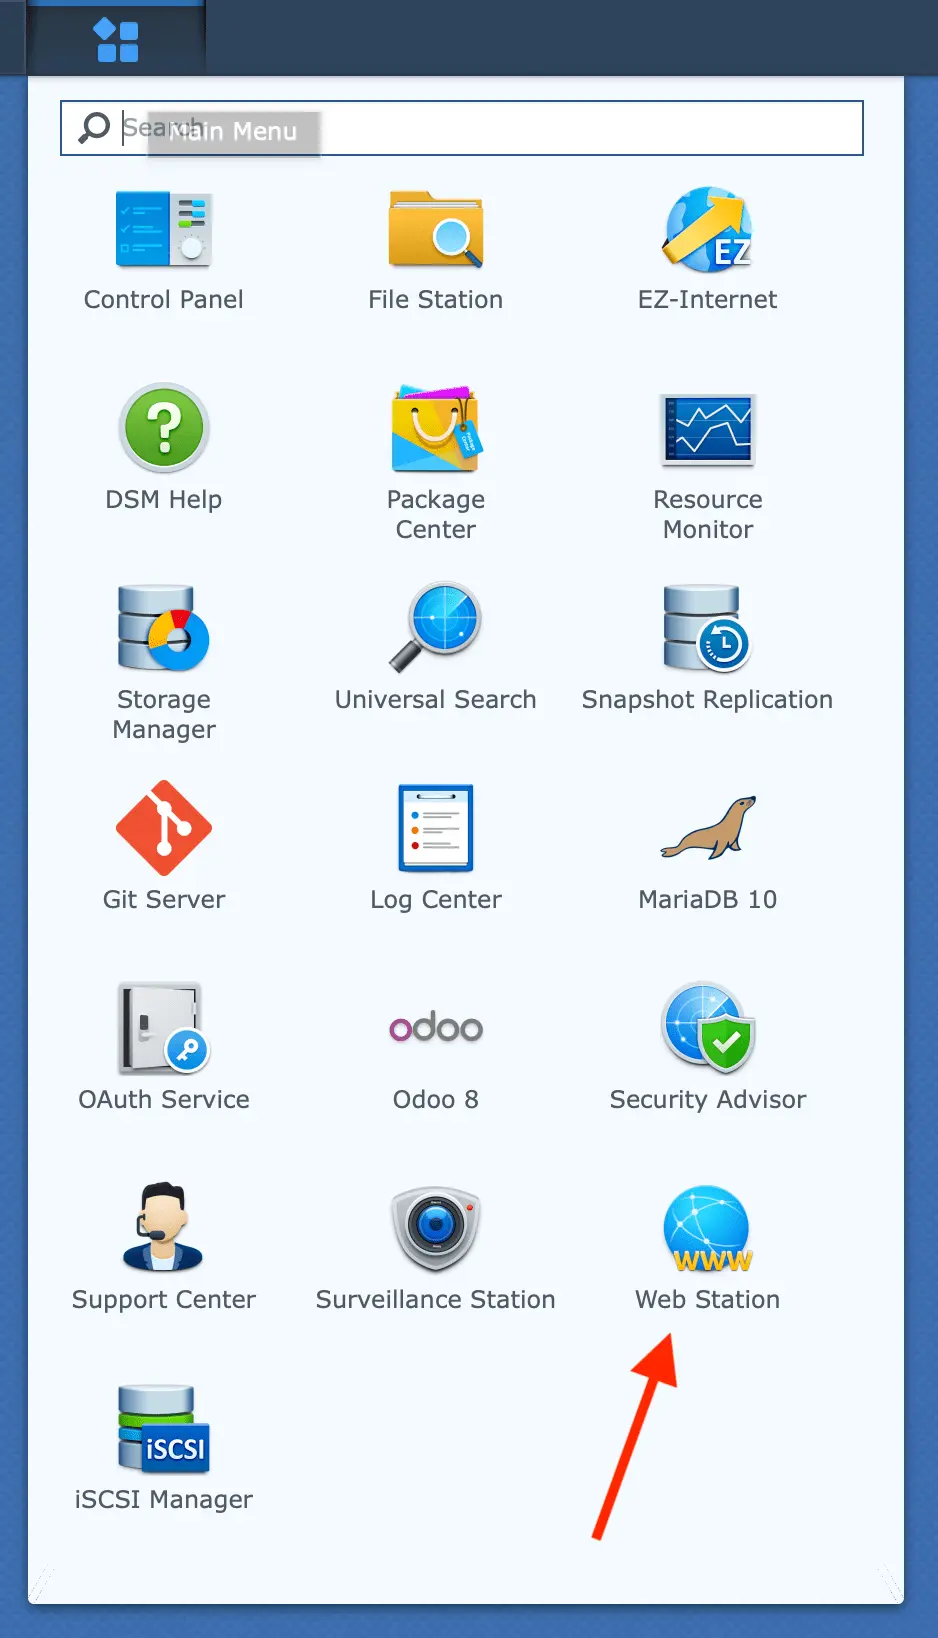
Start by opening the Web Station:
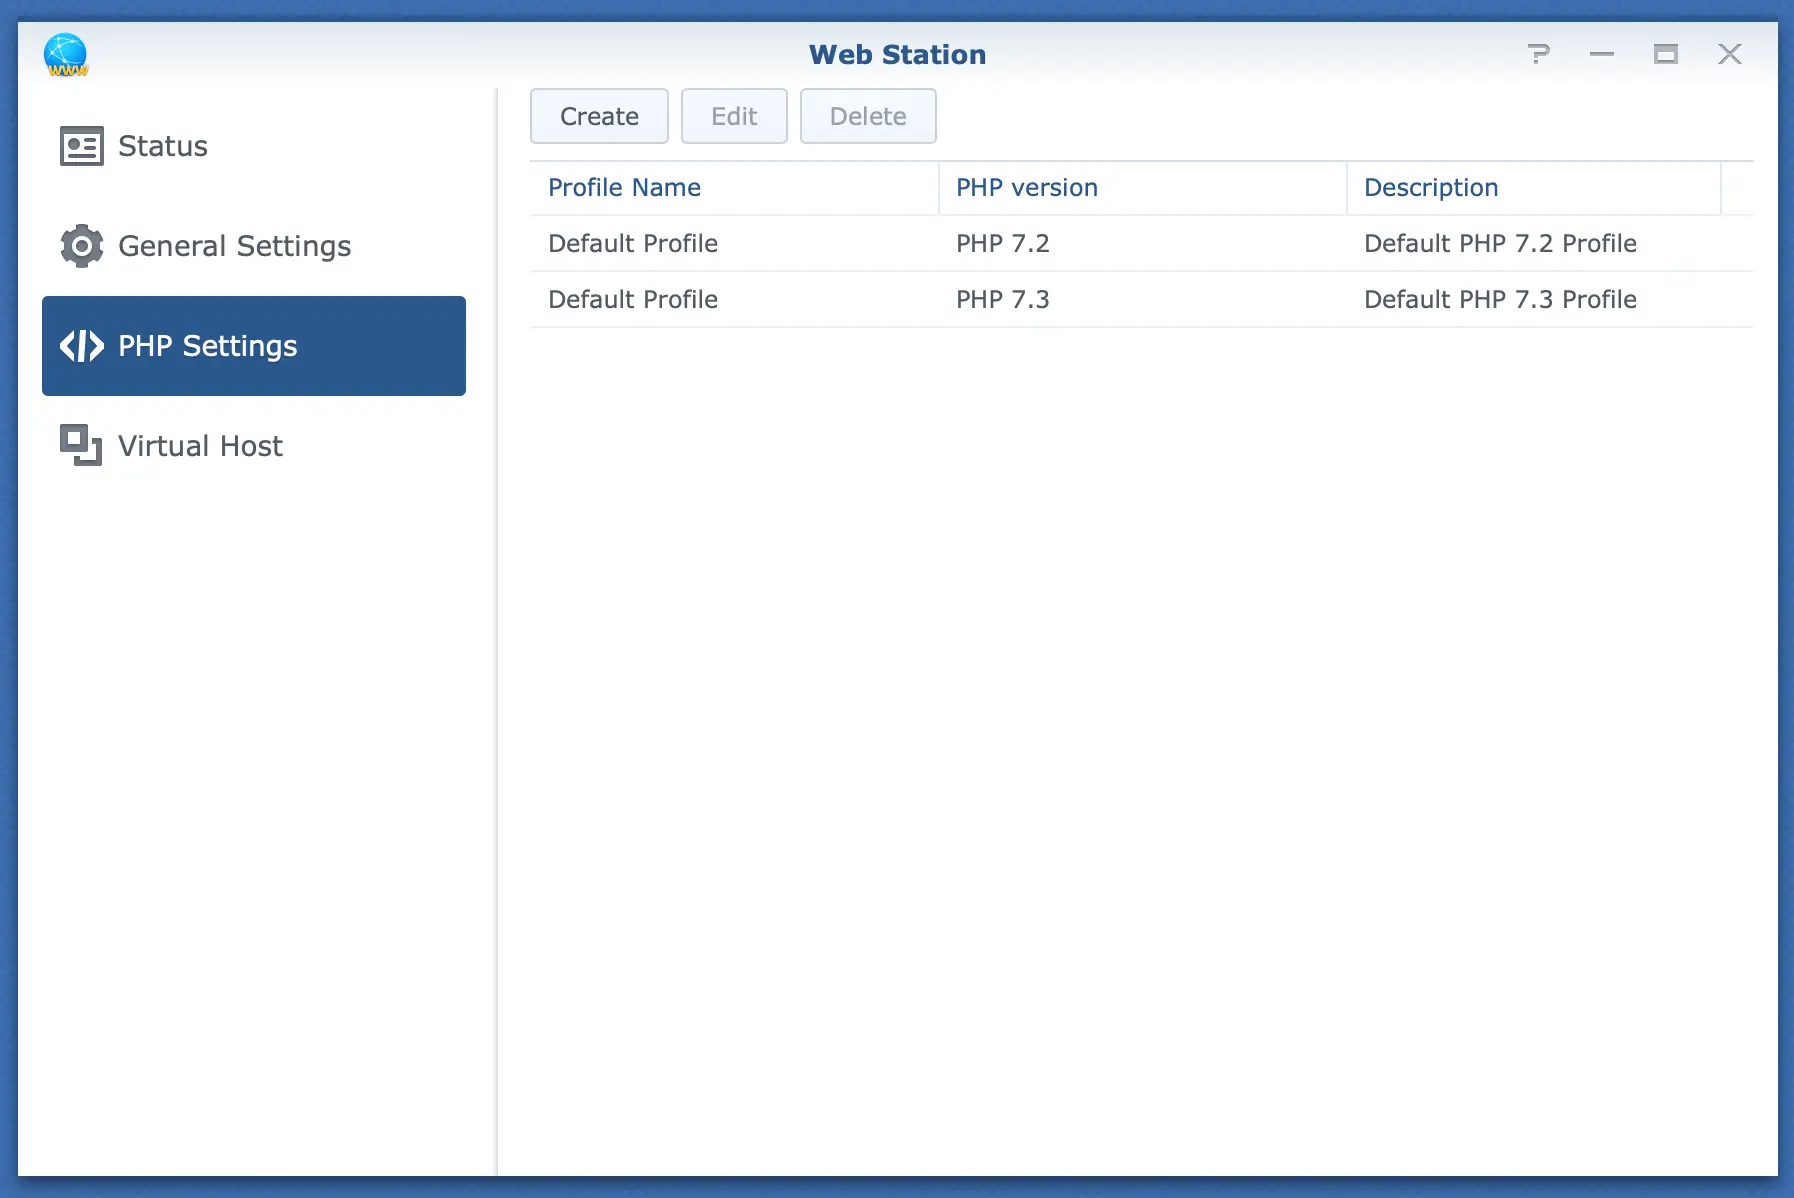
Check that you have a PHP 8.1 profile:
And then creating a VirtualHost (we use a port based in this example):
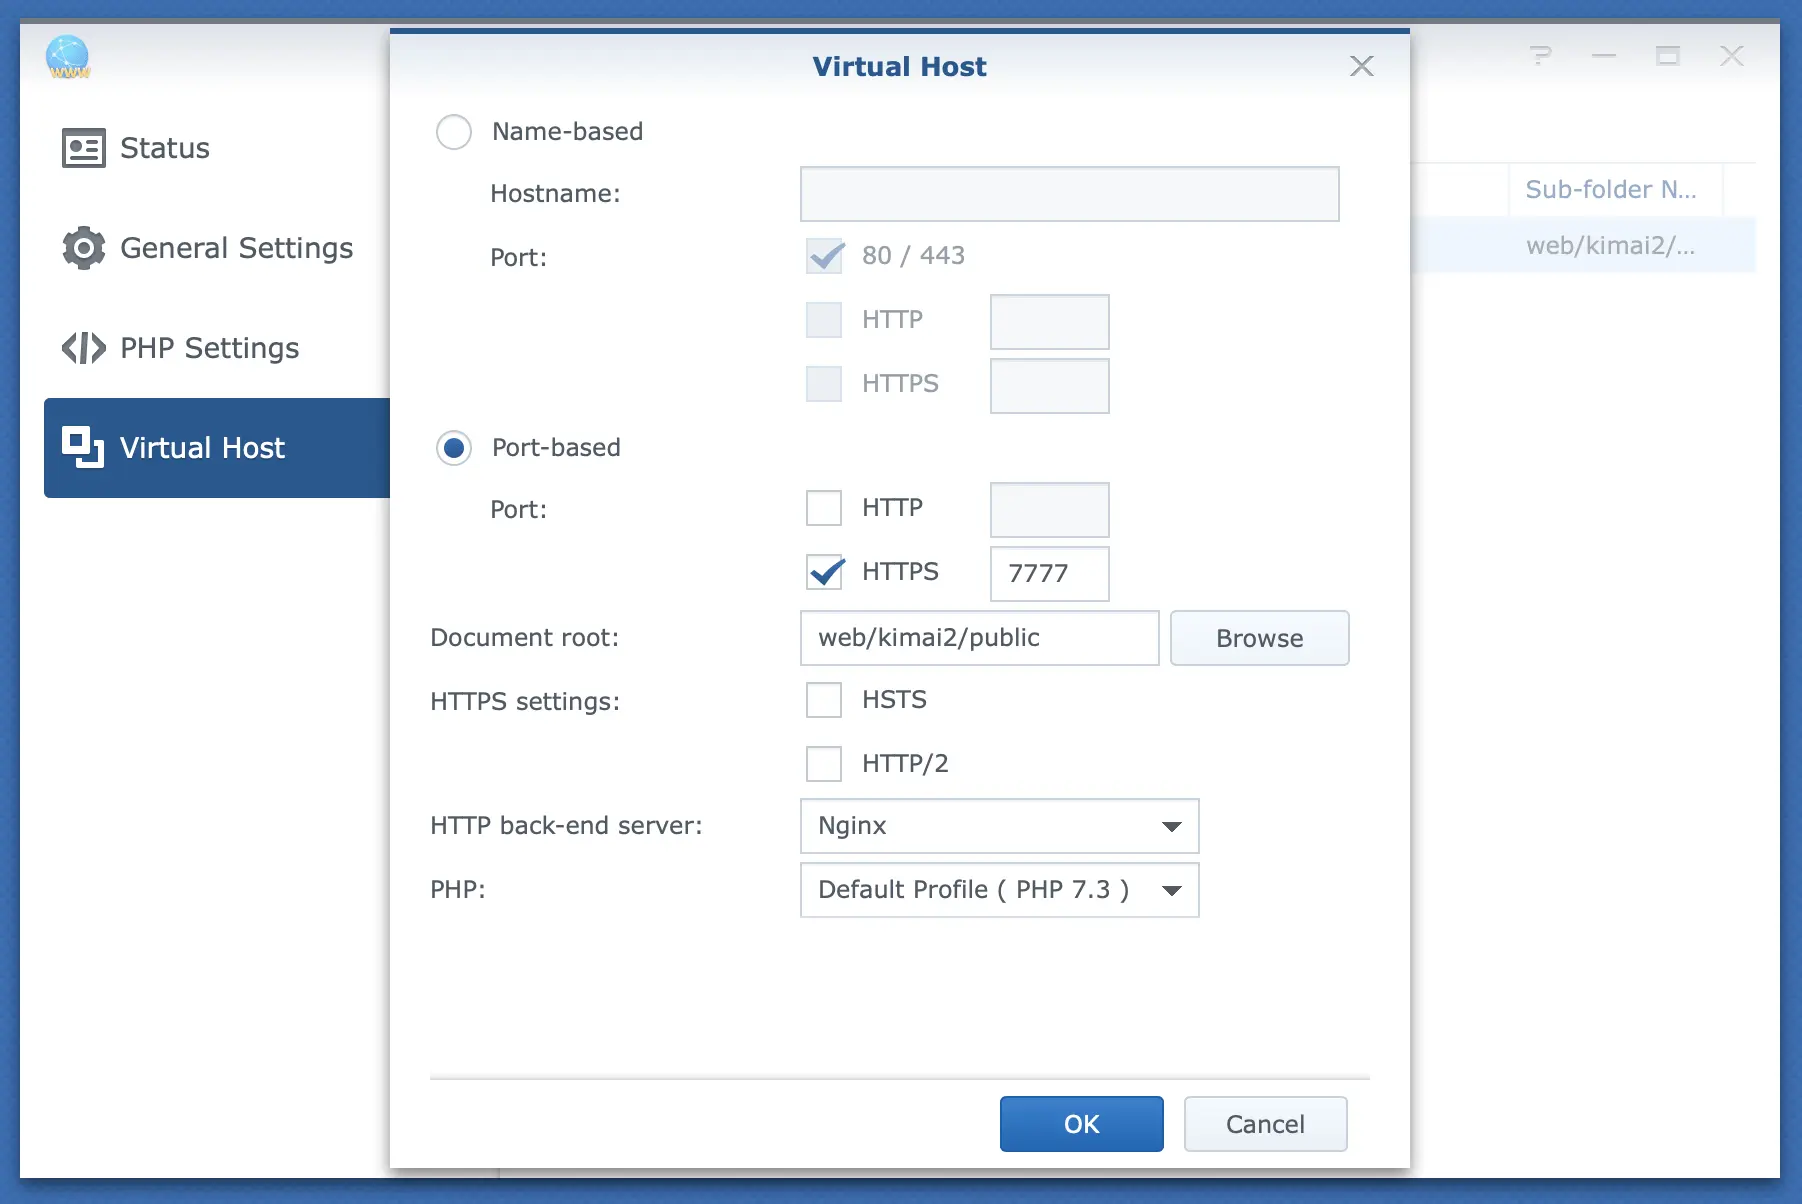
Settings choosen in the example:
- Port:
7777withHTTPS - Document root:
/volume1/web/kimai/public - HTTP backend server:
nginx - PHP backend:
PHP 8.1
Now switch to the console and find the directory where the config needs to be stored.
Either use ls -la /etc/nginx/conf.d/ and check which subdirectories exist or better:
have a look at the file /etc/nginx/app.d/server.webstation-vhost.conf where all virtual hosts are listed.
Watch out for the line that starts with include:
server {

    listen      7777 ssl default_server;
    listen      [::]:7777 ssl default_server;

    server_name _;

    ...

    root    "/volume1/web/kimai/public";

    ...

    include /usr/local/etc/nginx/conf.d/1d16b269-904e-41c9-bd23-cbdf761e305e/user.conf*;

}
Ok, we found the directory /usr/local/etc/nginx/conf.d/1d16b269-904e-41c9-bd23-cbdf761e305e/, go ahead and edit a
new config file to store the webserver configuration for Kimai:
vim /usr/local/etc/nginx/conf.d/1d16b269-904e-41c9-bd23-cbdf761e305e/user.conf-kimai2
Add the following lines to it:
    index index.php;

    access_log off;
    log_not_found off;

    location ~ /\.ht {
        deny all;
    }

    location / {
        try_files $uri /index.php$is_args$args;
    }

    location ~ ^/index\.php(/|$) {
        fastcgi_pass unix:/run/php/php8.1-fpm.sock;
        fastcgi_split_path_info ^(.+\.php)(/.*)$;
        include fastcgi.conf;
        fastcgi_param PHP_ADMIN_VALUE "open_basedir=$document_root/..:/tmp/";
        internal;
    }

    location ~ \.php$ {
        return 404;
    }
Check the nginx config with:
sudo nginx -t
If you see the following lines:
nginx: the configuration file /etc/nginx/nginx.conf syntax is ok
nginx: configuration file /etc/nginx/nginx.conf test is successful
you can tell nginx to reload the configuration with:
sudo nginx -s reload
That’s it, Kimai should now run.
Fixing file permissions
The following commands must be run in the Kimai directory, here in /volume1/web/kimai/.
They must be run as root user (e.g. by prefixing each line with sudo).
Be extremely careful, a wrong command can destroy your Synology … you know: with great power comes great responsibility!
cd /volume1/web/kimai/

sudo chown -R :http .
sudo chmod -R g+r .
sudo chmod -R g+rw var/
Updating Kimai
Please cross-check the normal upgrade guide for more steps:
cd /volume1/web/kimai/
git fetch --tags
git checkout 2.62.0
php81 composer install --no-dev --optimize-autoloader
php81 bin/console kimai:update
chown -R :http .
Important: Finally execute the version specific tasks from the UPGRADING guide.
Update without git
cd /volume1/web/
wget https://github.com/kimai/kimai/archive/refs/tags/2.62.0.zip
7z x
cp kimai2/.env kimai-2.62.0/
cp -R kimai2/var/invoices kimai-2.62.0/var/
cd kimai-2.62.0/
Then download and install composer, followed by the installation:
php81 composer.phar install --no-dev --optimize-autoloader
php81 bin/console kimai:update
Now a) switch your virtual host to the new directory or b) change the directory names:
cd /volume1/web/
mv kimai kimai-backup
mv kimai-2.62.0 kimai
Important: Finally execute the version specific tasks from the UPGRADING guide.
SSO with Synology Directory Server
See this discussion to find out more.
- Prerequisite Synology Directory Server App installed on your NAS
-
Preparation: open Synology Directory Server App
-
Domain Tab write down: Domain name, e.g. your.domain Domain NetBios name, e.g. your address of Domain Controller, e.g. dc.your.domain “DC” part of Distinguished name (DN), e.g. DC=your,DC=domain (everything after OU=Domain Controllers)
-
Users & Computers Tab create user: Add - Username User Login name: kimai (can be freely chosen) Password: your-password Confirm Password: your-password Untick “Force this account to change password at next login” confirm next windows (it is sufficient if user just belongs to the group ‘domain users’
-
-
local.yaml create the file local.yaml or add the ‘ldap part’ to your local.yaml and upload it to kimai/config/packages
kimai: ldap: activate: true connection: host: "ldaps://dc.your.domain" <-- change to address of Domain Controller as recorded in first step) port: 636 useSsl: true username: CN=kimai,CN=Users,DC=your,DC=domain <--- the created user, amend the DC information as recorded in the first step password: your-password <-- the password for the created user accountFilterFormat: (&(objectClass=Person)(sAMAccountName=%s)) accountDomainName: your.domain <-- your domain name as recorded in first step accountDomainNameShort: your <-- Domain NetBios name as recorded in first step user: baseDn: DC=your,DC=domain <--- amend the DC information as recorded in the first step usernameAttribute: samaccountname filter: (&(objectClass=Person)) attributesFilter: (objectClass=Person) attributes: - { ldap_attr: samaccountname, user_method: setUsername } - { ldap_attr: mail, user_method: setEmail } - { ldap_attr: displayname, user_method: setAlias } role: baseDn: DC=your,DC=domain <--- amend the DC information as recorded in the first step filter: (&(objectClass=group)) groups: - { ldap_value: Domain Admins, role: ROLE_SUPER_ADMIN } - { ldap_value: management, role: ROLE_ADMIN } <-- assumes that you have created a Domain Group 'management' in your Active Directory App; if not, delete this line - { ldap_value: Users, role: ROLE_USER } - nstallation
SSH into your Synology NAS, navigate to your Kimai installation (probably volume1\web\kimai2) and run the following command:
php80 /usr/local/bin/composer require laminas/laminas-ldap --optimize-autoloader
Remark:
- use the correct php version that you have installed, e.g.
php81(but notphp74) - change the path to composer if you have not created a link to your composer.phar under /usr/local/bin/
Troubleshooting
Allowed memory size issue
If you see an error like Error: Allowed memory size of 134217728 bytes exhausted (tried to allocate 32768 bytes) then you
have to adjust the memory limit for the PHP command-line interface.
PHP has two different settings for memory limit, depending on where you run it:
- executed in web-context (you open a page in your browser) => the settings from DSM are used
- executing scripts (like the installer) via SSH => settings from another config file are used
So when running the installer and running into a memory issue, you have to adjust the php.ini whose settings are used
in SSH, e.g. the file /usr/local/etc/php81/php.ini is used for PHP 8.1.
Search for the key memory_limit and set it to a high value, e.g. memory_limit=512M.
Read this discussion for more infos.
White page after changes to .env
If you are using a network share (or any Synology app) for downloading/editing/uploading the .env file,
make sure that group permissions for the http group are preserved.

You can change them using:
File station > change to kimai directory > Right click on .env > Properties.