 Kimai
Kimai
Jira worklog sync
Tag timesheets with a Jira issue key and sync tracked time to Jira as worklogs.

Hilfor
Adds a Jira issue field to every timesheet entry and syncs tracked time to Jira as worklogs, authenticated with each user’s own personal access token (Jira Server / Data Center) or API token (Jira Cloud).
Features
- An optional Jira issue field (e.g.
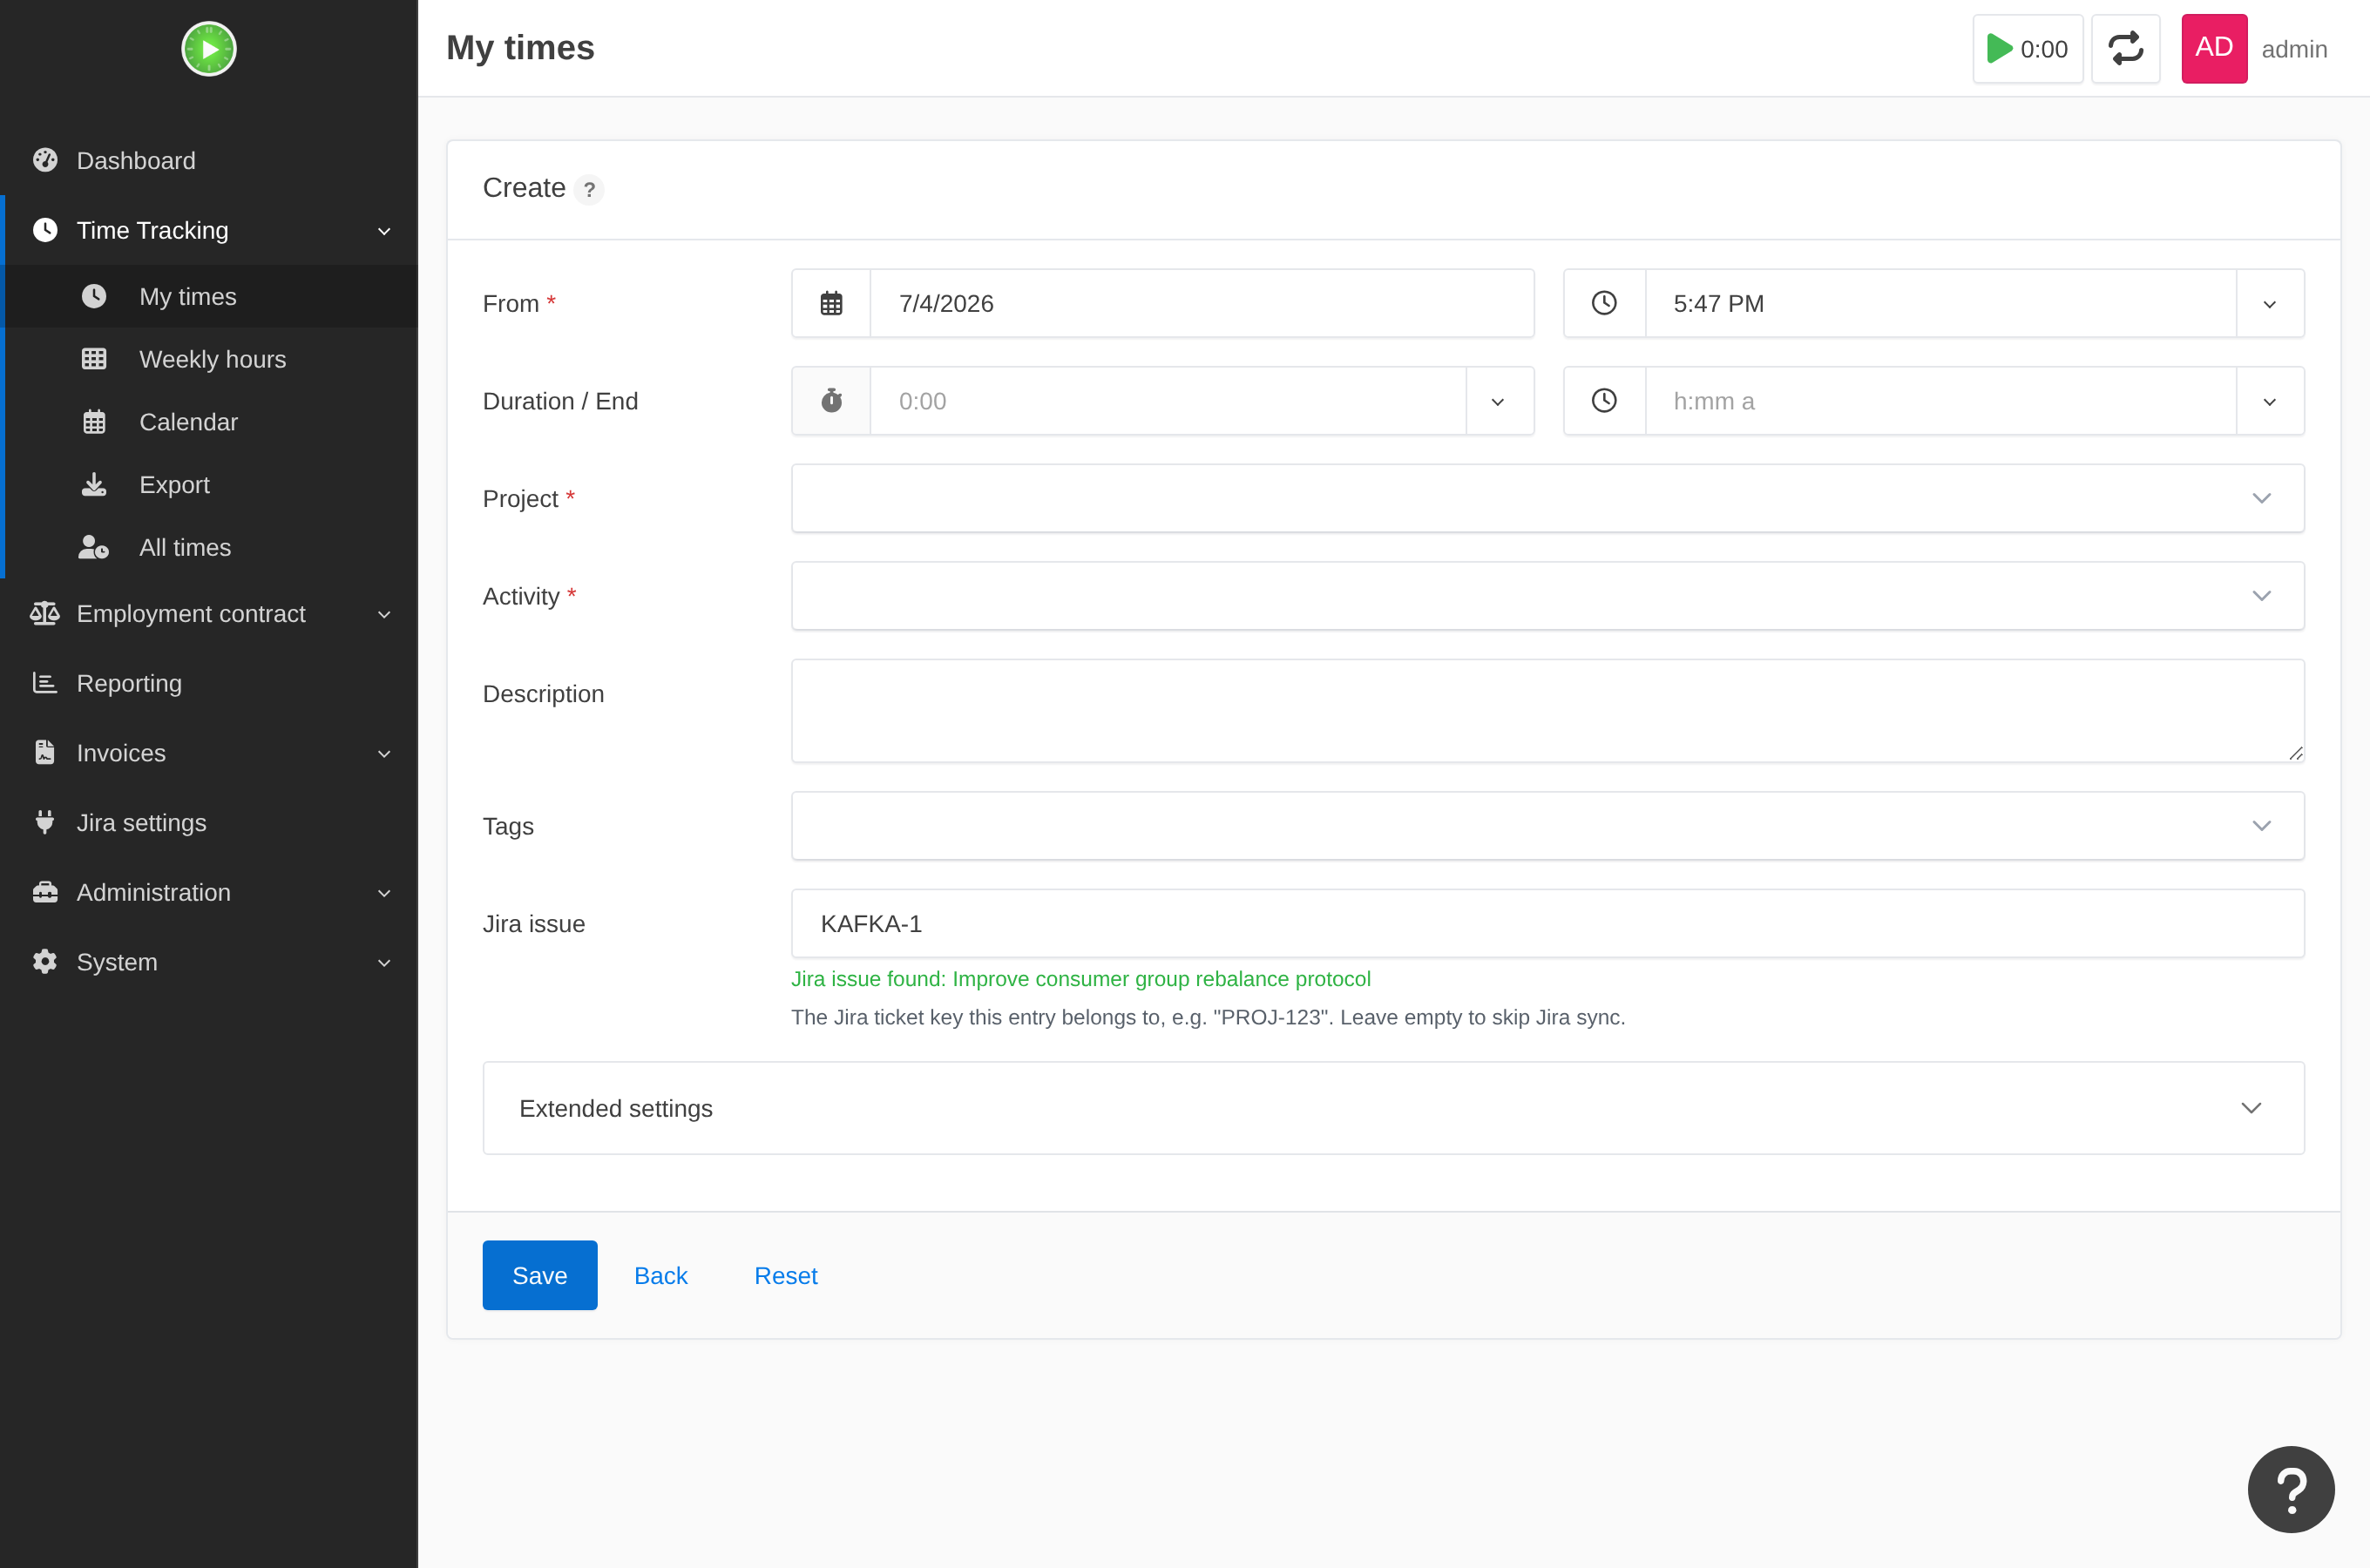
PROJ-123) on every timesheet entry, validated and shown as an optional column in timesheet tables and exports - where it renders as a clickable link straight to the ticket in Jira. - Live validation: as you type an issue key on the timesheet form, the plugin confirms it exists in Jira and shows its summary, so a typo never silently syncs to a non-existent issue (advisory only - it never blocks saving).
- Automatic create / update / delete of the matching Jira worklog when a timesheet entry is stopped, edited, or removed - or manual-only sync, your choice. Optionally sync the timesheet description as the worklog comment, or time only.
- Optional reverse import (
kimai:jira:import): pull each user’s own Jira worklogs back into Kimai as timesheets, so time logged in Jira shows up in Kimai reports too - opt-in, matched by each user’s own token, and de-duplicated so re-runs never create doubles. - Each user manages their own Jira credential on a personal settings page, with a “Test connection” button that reports a specific, worded result (rejected credentials, DNS, TLS, timeout - each is different and has a different fix).
- Tokens are encrypted at rest (libsodium) in their own database table - never in a Kimai user preference, never returned by any API.
- Resilient by design: saving a timesheet never waits on Jira, a background reconciler
(
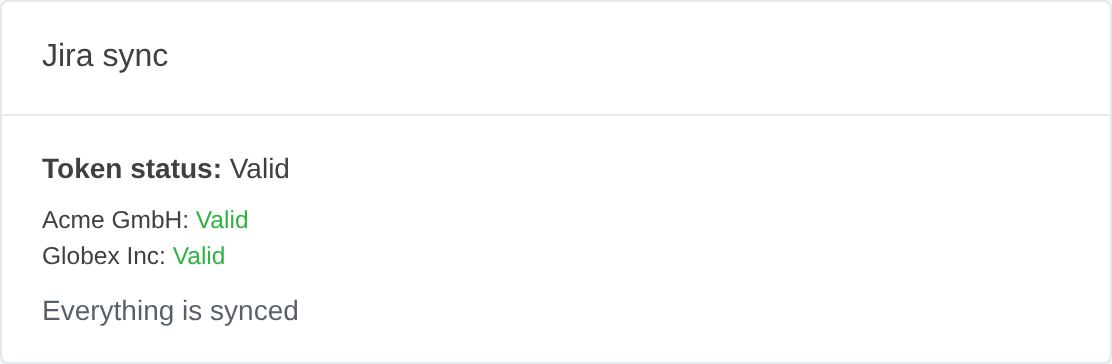
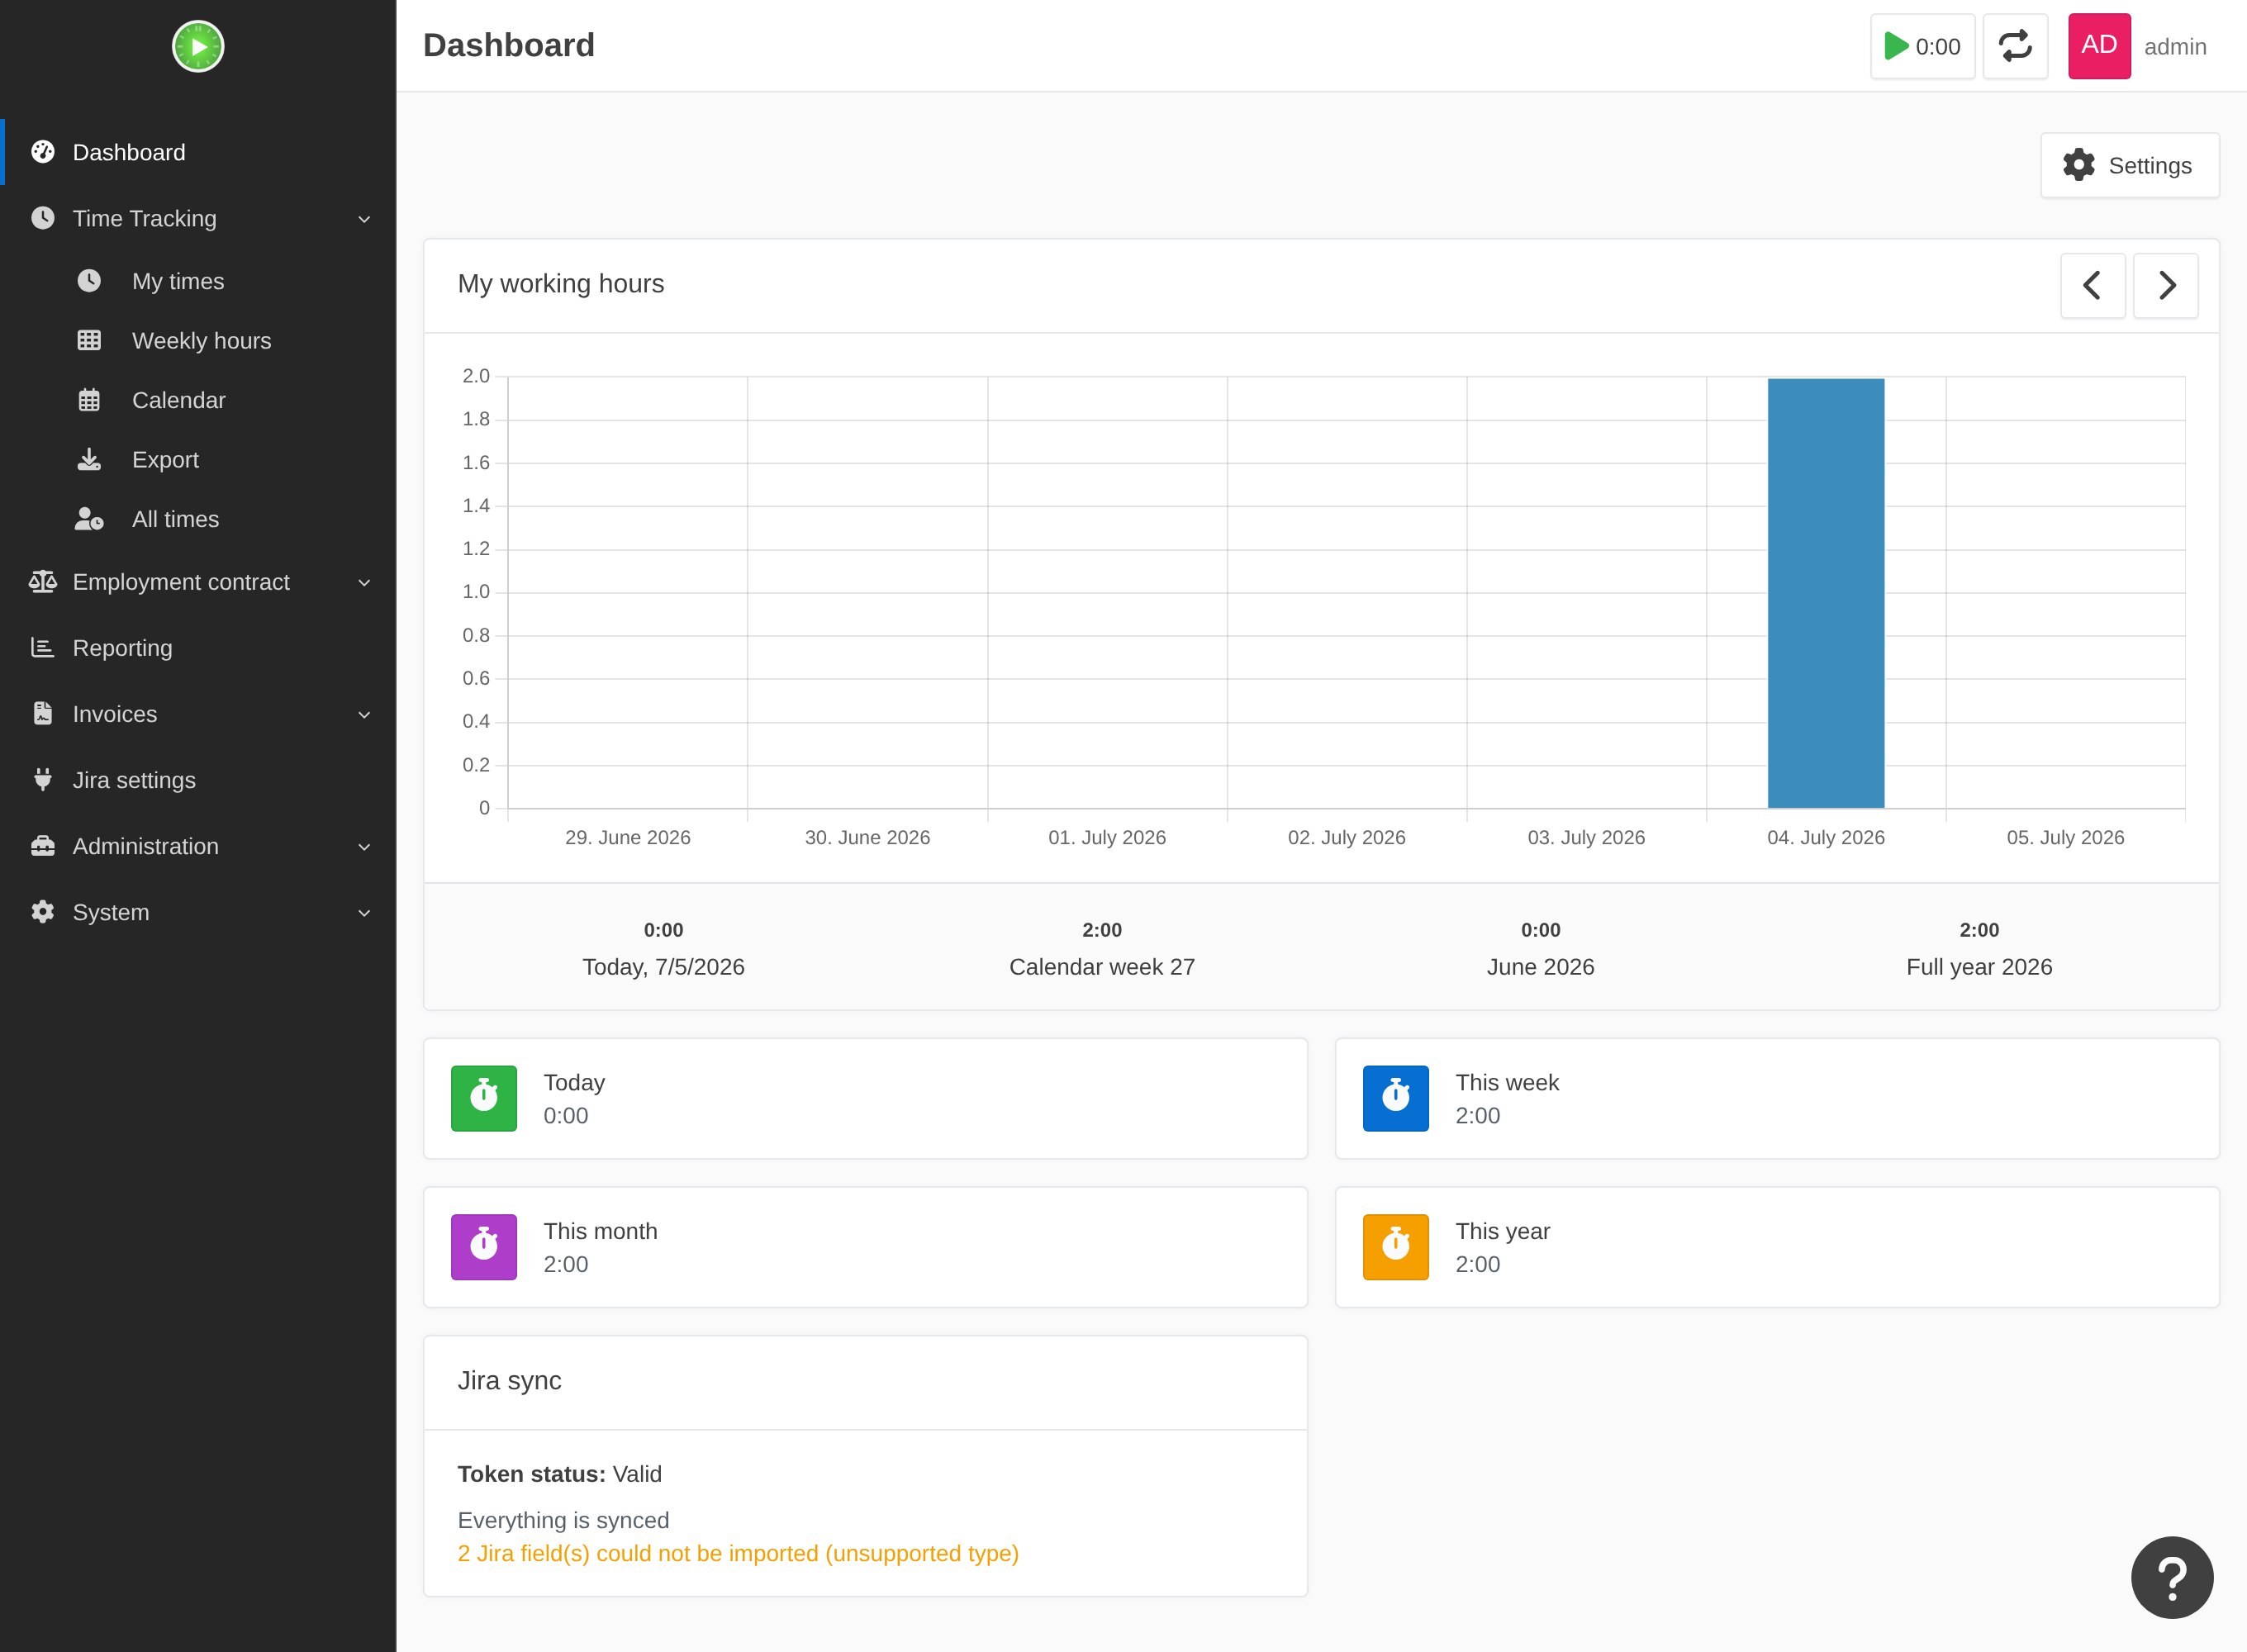
kimai:jira:sync, meant to run from cron) drains anything that could not sync inline, and an expired token is caught by a daily heartbeat check instead of silently going stale. - Works against both Jira Cloud and Jira Server / Data Center (Bearer or Basic auth, configured per customer - so different customers can run different Jira instances).
Usage
Configure the Jira server URL and authentication mode on each customer (Customers > edit a customer > Jira; admin only) - so customers on different Jira instances each get their own. Each user then opens Jira settings from their user menu and stores a personal access token / API token per customer. From then on, filling in the Jira issue field on a timesheet entry is all it takes - the worklog appears on the referenced Jira issue (the one for that timesheet’s customer) once the entry is stopped or saved with an end time.
See the documentation for the full configuration reference,
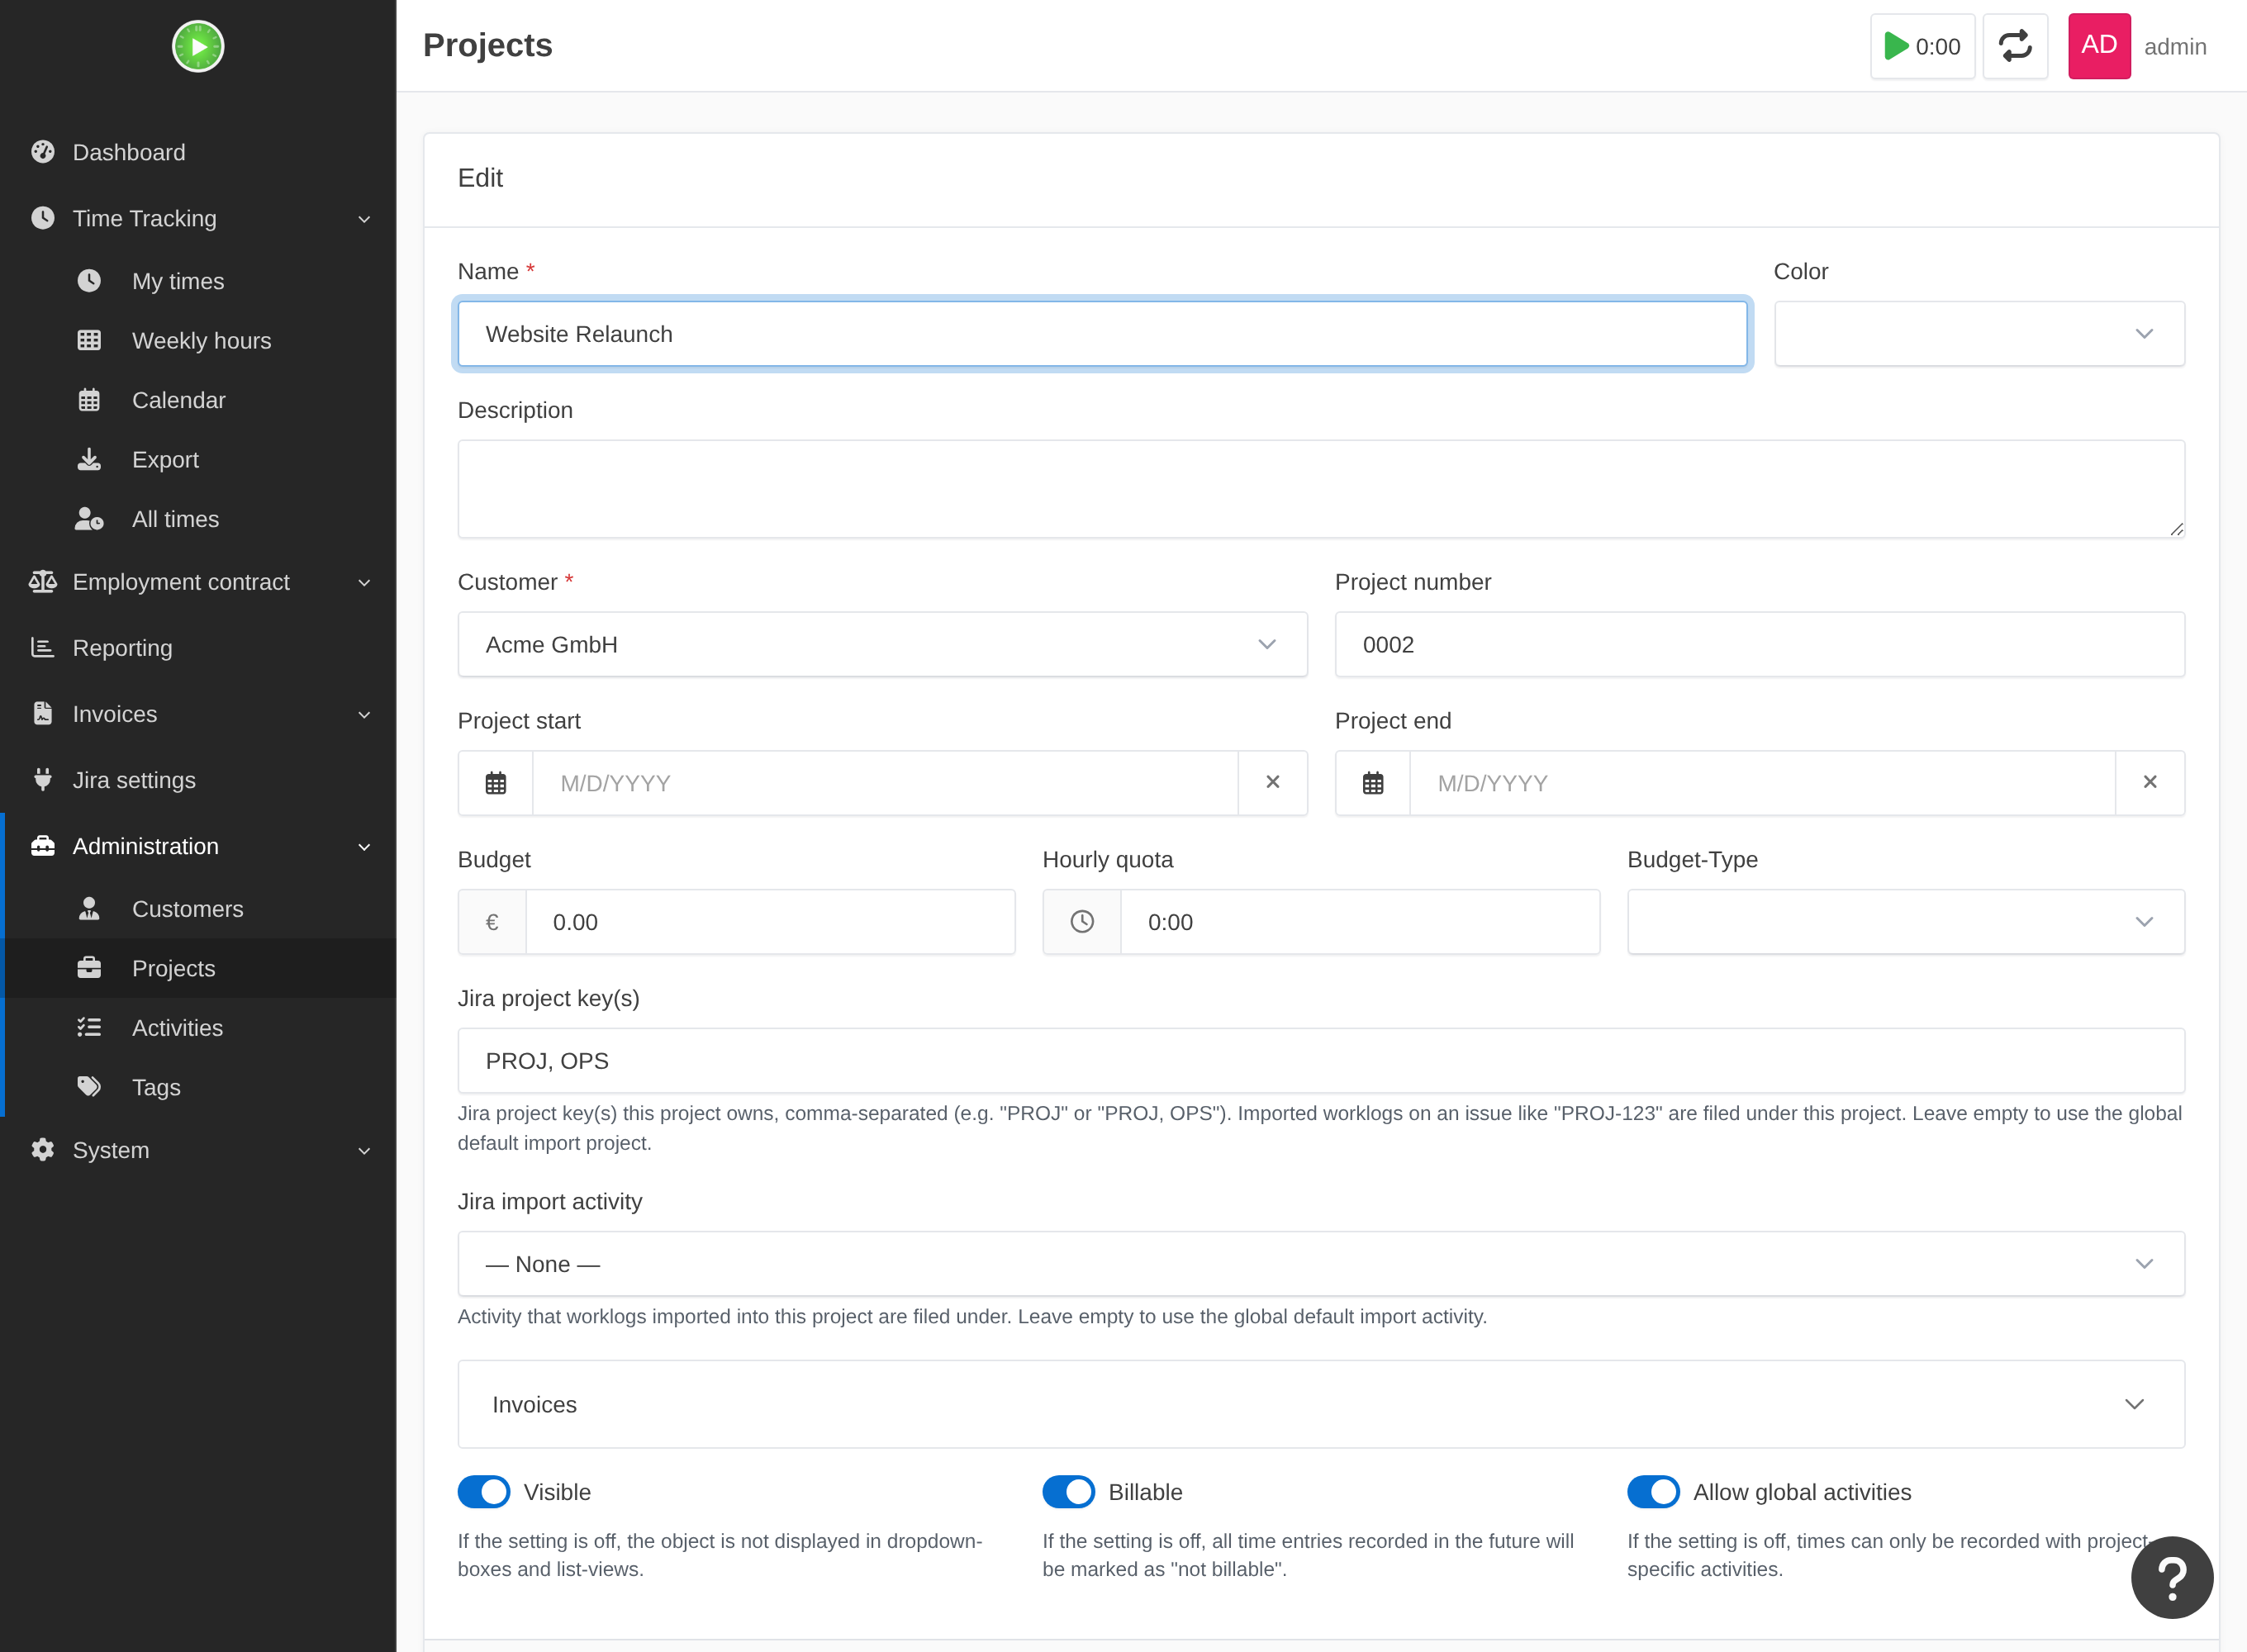
including Jira Cloud vs. Server/Data Center setup, per-project routing and auto-create, the
optional kimai:jira:import reverse importer and custom-field passthrough, and the cron entries
the background reconciler, the daily license check and the importer need.
Support
Setup help, bug reports and feature requests: kimai-support@hilfor.biz. The full configuration reference lives in the documentation.
Kompatibilnost
Sljedeća tablica sadrži usporedbu između dodatka i najmanje potrebne Kimai verzije.
| Verzija paketa | Najmanja Kimai verzija |
|---|---|
| 1.2.0 | 2.21.0 |
| 1.0.0 | 2.21.0 |
Instalacija
Kopiraj datoteke
Extract the ZIP file and upload the included directory and all files to your Kimai installation to the new directory:
var/plugins/JiraBundle/The file structure needs to look like this afterwards:
var/plugins/
├── JiraBundle
│   ├── JiraBundle.php
|   └ ... more files and directories follow here ...
Isprazni predmemoriju
After uploading the files, Kimai needs to know about the new plugin. It will be found once the cache was re-built. Call these commands from the Kimai directory:
How to reload Kimai cache
bin/console kimai:reload --env=prod
It is not advised, but in case the above command fails you could try:
rm -r var/cache/prod/*
You might have to set file permissions afterwards:
Adjust file permission
You have to allow PHP (your webserver process) to write to var/ and it subdirectories.
Here is an example for Debian/Ubuntu, to be executed inside the Kimai directory:
chown -R :www-data .
chmod -R g+r .
chmod -R g+rw var/
You might not need these commands in a shared-hosting environment.
And you probably need to prefix them with sudo and/or the group might be called different from www-data.
Stvori bazu podataka
Run the following command:
bin/console kimai:bundle:jira:installThis will create the required database tables and update them to the latest version.
If you see an error like There are no commands defined in the "kimai:bundle:XYZ" namespace.,
then either the directory has a wrong name (must be var/plugins/JiraBundle/) or you forgot to clear the cache (look above).
Aktualiziranja
Updating the plugin works exactly like the installation:
- Delete the directory
var/plugins/JiraBundle/ -
Execute all installation steps again:
- Kopiraj datoteke
- Isprazni predmemoriju
- Update database with
bin/console kimai:bundle:jira:install
Snimke ekrana

ČPP
Ova često postavljana pitanja pruža programer ove ponude.
All paid plugins are annual subscriptions. Each year you receive a new license key by email and enter it in the plugin settings.
You can buy the plugin via Stripe for immediate access. The license key and the download link arrive by email.
Support-questions, bug-reports and feature-requests can be made via the email kimai-support@hilfor.biz.
While the subscription is active, you receive all updates and bugfixes. After the subscription ends, the plugin features keep working for 14 more days and then stops. Kimai and your timesheets are not affected.
Once a day the plugin checks whether the subscription is still active. The request carries your customer ID and an anonymous installation ID. It never sends your Kimai URL, user names or timesheet data. Installations without internet access are supported. See the plugin documentation.